Two Tute Tuesday-Tute #2! Find Tute #1
here.
This is the tutorial I posted when I guest posted on
Wayward Girls' Crafts a couple weeks ago so in case you missed it over there here it is again!
This is a simple, fun tutorial on how to make a set of 'FAMILY' blocks. You could use this tutorial to create a set for any holiday/season to add fun decor to your holiday decorating!

Just to give you an example of other ideas, here are some blocks I've done for different holidays:
Valentines:

St. Patricks: (this is actually just on the backside of the LOVE blocks)

Easter/Spring:

Ready to make some of your own?! Start with 6 wood blocks. Mine are cut from a 2x4 so they are each 2"x 3".

Give them a light coat of spray paint (I chose black) and then a light sanding to give them somewhat of a worn look.

If you don't want to hang the blocks, just skip the next 2 steps and you can make them to be free-standing and they'd still be super cute! If you do want to hang them, decide how long you want them to hang from your rod (mine is a $1.50 silver curtain rod from Walmart that I spray painted black) and cut 6 pieces of ribbon. Each of my ribbon's are 8 inches.

Next, I used a staple gun to staple the ribbon directly to the block-one staple on the back and front of the block.

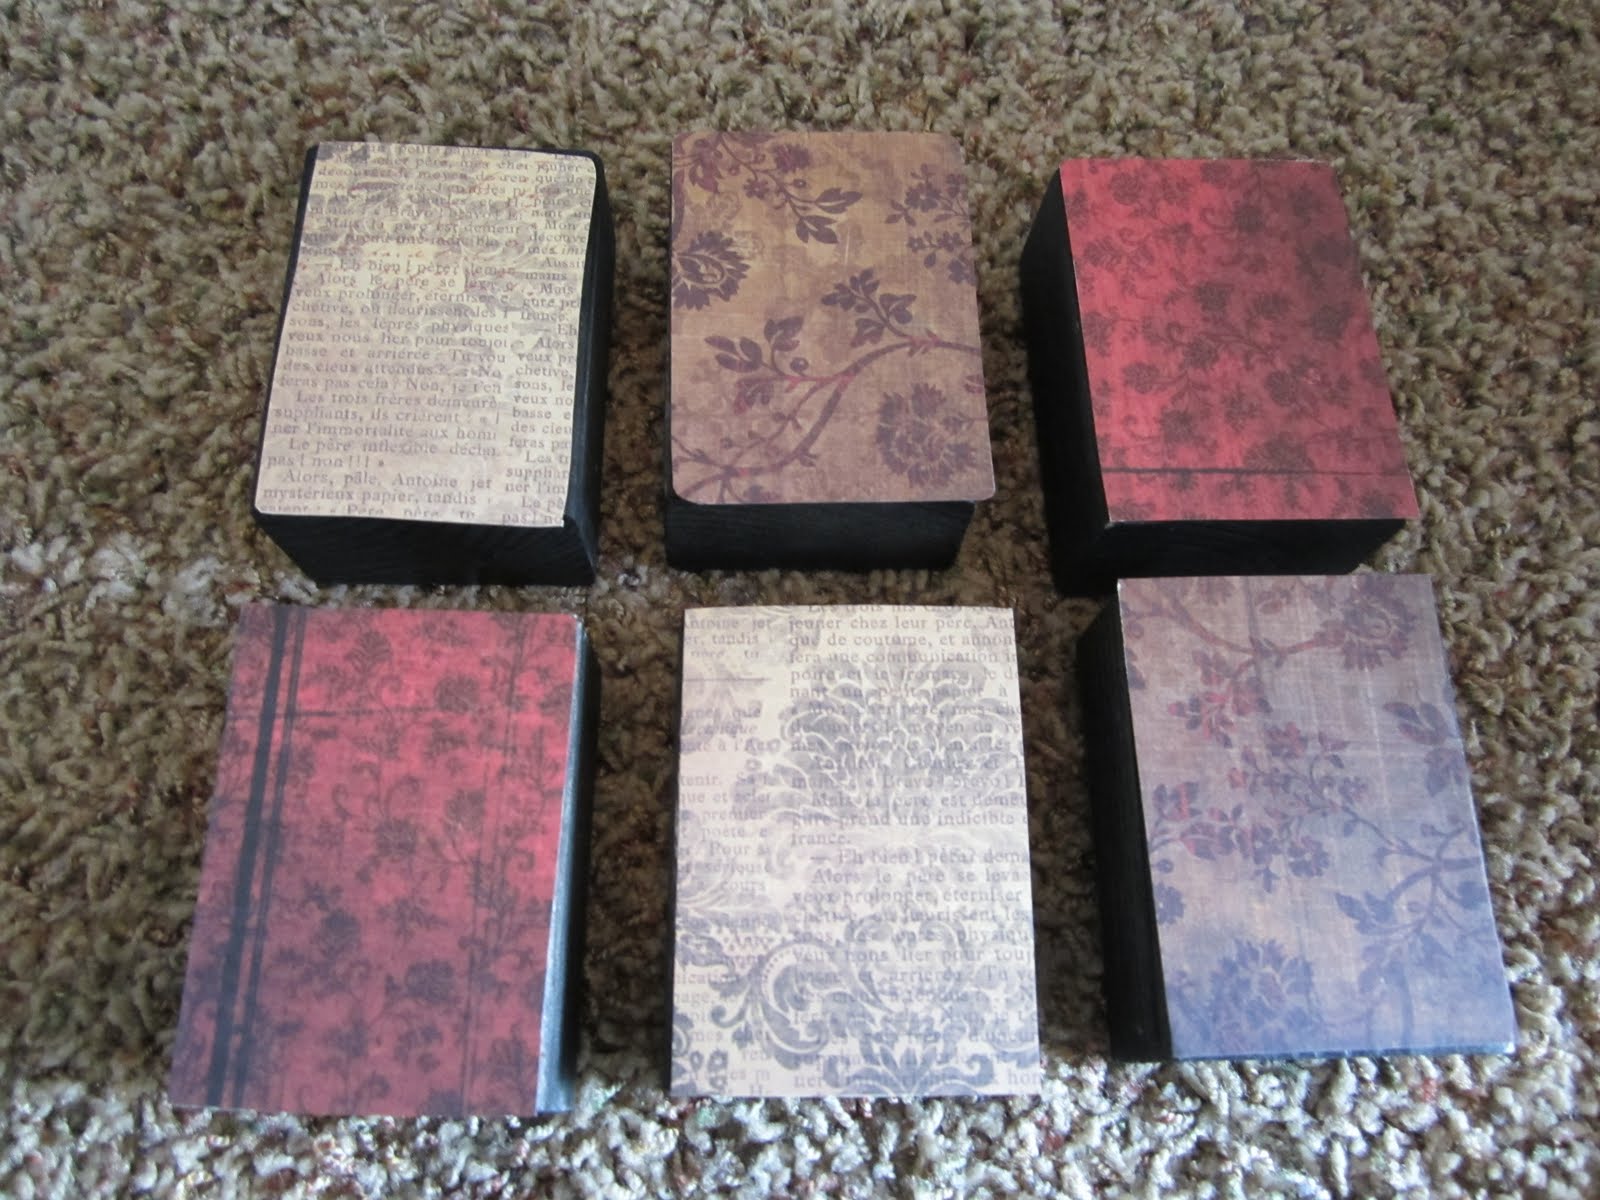
Then you'll want to pick a few sheets of coordinating scrapbook paper. My living room colors are deep reds, browns, and creams so I chose these:

Cut your papers to be the same size as the front of each block.

I've done this part using mod-podge previously, but this time I decided to just try it with a glue stick and it worked great-even better then the mod-podge because I didn't have to deal with the air bubbles you sometimes get from it. Just cover the back side of your paper with glue and stick it on to the wood!

After all my papers were glued to the block, I very lightly sanded the edge of each block.

I just wanted my blocks to give a
slightly worn look, not full blown antique.


Next, I used my cricut to cut vinyl letters to attach to the blocks. You could also use scrapbook stickers if you don't have a cricut. Then I covered each block with a light layer of mod-podge to seal everything together.

Now Embellish, Embellish, Embellish!!!


And that's it, you're done!

I love the look of the hanging blocks, but wouldn't they look so great stacked together on a mantle or in your TV hutch?!

Thanks for stopping in today I Love Love LOVE that you're here! Don't forget to enter my giveaway for the bubble watch going on through friday! And I will be guest posting on an AWESOME blog tomorrow so be sure to come back, I promise it'll be a
WHEELY good time! ;0)
Linking up to
these parties as well as:


You have read this article with the title June 2011. You can bookmark this page URL https://loriescorner.blogspot.com/2011/06/sweet-tute-tuesday-2-family-blocks.html. Thanks!