Kitchen Jars

After living in our house for a year, I finally decided it was time to do something with all the phenomenal space above our kitchen cupboards-besides using it as a place to store the 20 different kinds of cereal we have at all times. (we sorta eat cereal...a lot. Like it's a problem.) Although the collage of colors we were getting from the different colored boxes was nothing less than breathtaking, I thought maybe it was time for a change. A classier look if you will.

I have a lot of height above the cupboards in the kitchen so I really wanted the decor to accentuate the space and take advantage of what I had. The first thing I did in the kitchen were the bean balls. Since they stacked upwards in the vase, I needed something to complement that tall, slender look, so when I found a set of unfinished wood candlesticks at the thrift store for .50 each I grabbed up all of them and knew exactly what I wanted to do! (painted the candlesticks with Rustoleum's black laquer spray paint)


Glue jars to the top and fill them with...FOOD (non-perishable)!


The glass jars were purchased from Hobby Lobby ($2 a piece on sale) and the lids were given a coat of the same spray paint as the candlesticks (originally silver).

You're kinda limited in what food items you can use since they need to not rot, grow mold, or smell funny. Oops...guess real garlic wasn't a genius idea. After about a week (no JOKE!) of wondering why in the world our kitchen smelled like onion breath we looked up and saw our science fair project was successful (garlic DOES continue to grow in glass jars. sweet.) This was taken before the growth.


Welp, no biggie! I found a strand of fake garlic at the dollar store and still have about 10 left (any takers???). I cut them off the garland and hoped they wouldn't look too fakey! I actually really like the look next to the other jars!


Pasta just makes me drool. Had to have it; plain and simple.
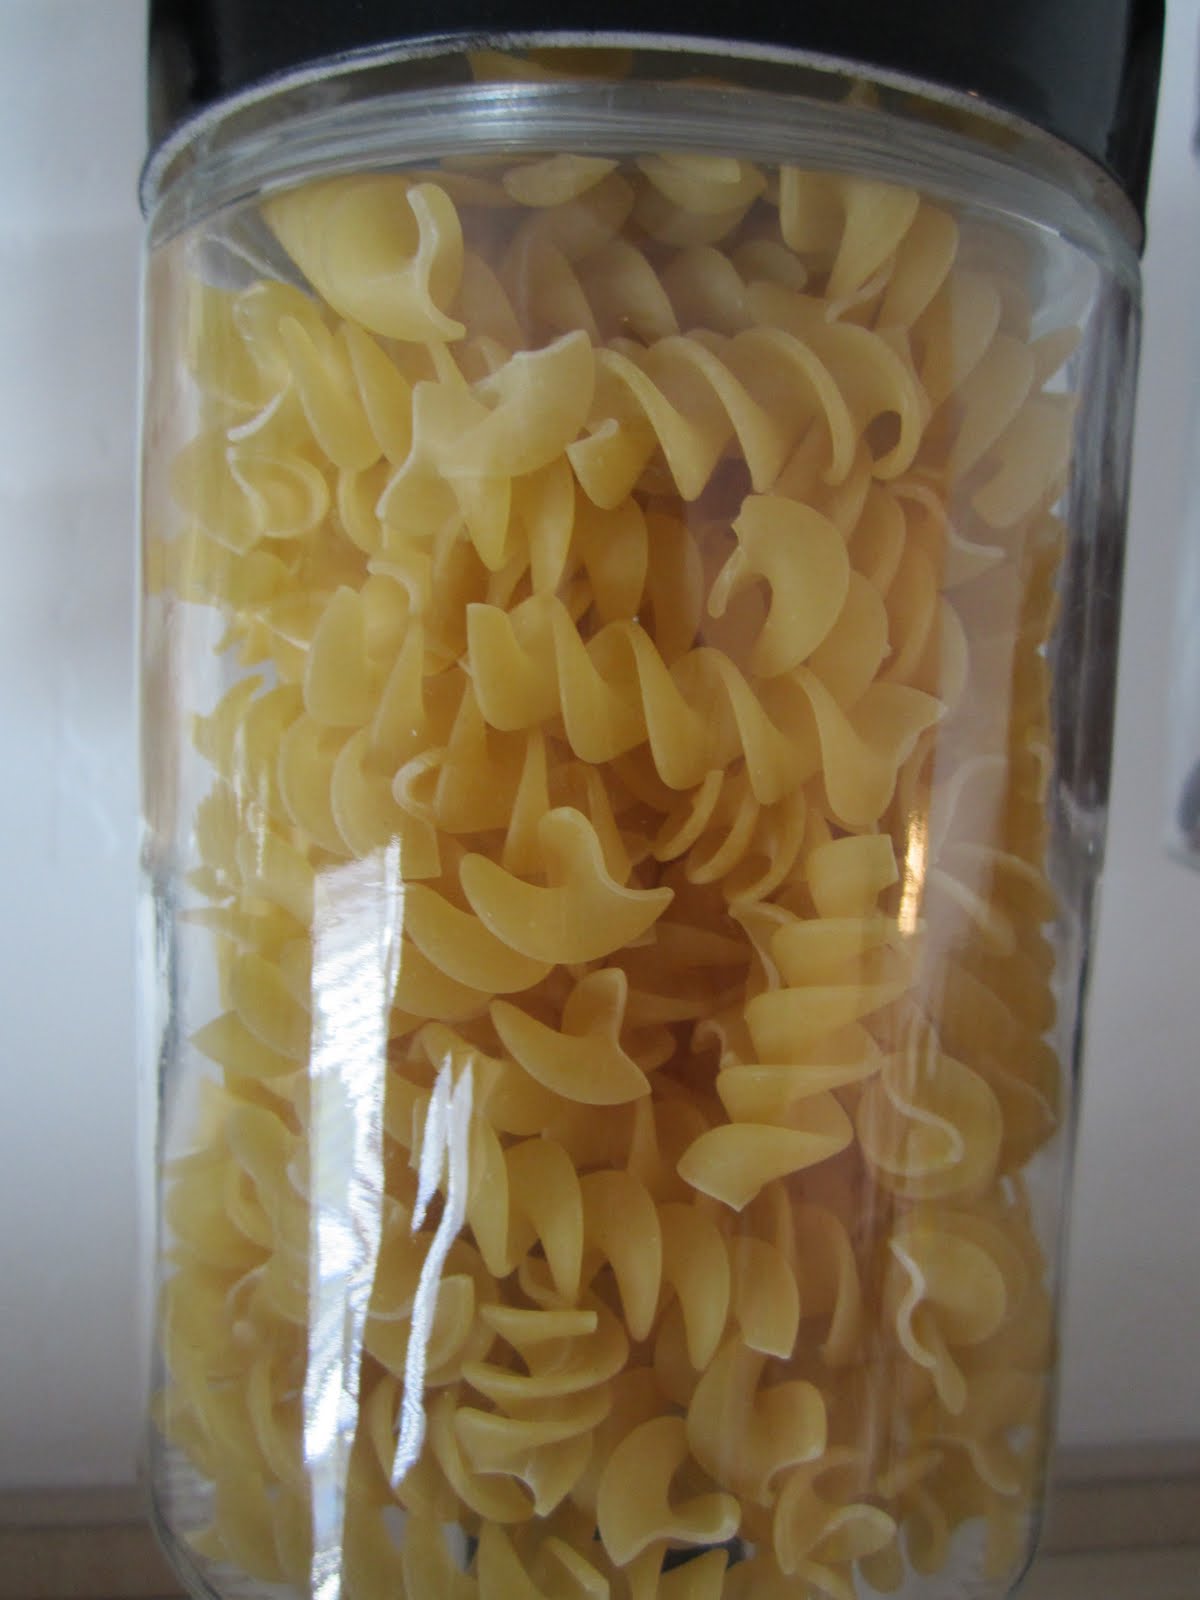

My mom gave me the idea for dried peppers and it works perfectly since my kitchen has a red/black/ pops of green thing going on. Man I {heart} that woman!


And there are my pretty little maids all in a row! (I also think these could look really cute with some vinyl lettering on the front of the jars as well!)


The decor on the right side of the kitchen from the view of me standing on the counter, leaning half of my back on the fridge and balancing my elbow on the cabinet. I know. You're welcome.


You can find the how-to on my decorative bean balls HERE.

The red star I found at a thrift store for $1.50

This silver plate was a wedding gift that I added the word and graphic to using black vinyl cut from my cricut and then placed it on an easel I already had.


This wreath was $1 at the thrift store and I picked up some berry stems from Hobby Lobby for .50 each (used 2) and wrapped them around the wreath for a little touch of Sweet Love.


This is the view when standing on the floor.


Only problem is now I actually have to walk out to the garage to pick a new box of cereal. Although I have noticed a slight decrease in our consumption...maybe this is a good thing!

Can I just tell you how much I LOVE you being here with me on my little ol' blog?! It makes my day to see you popping over to say hello! Have a LOVELY day! Don't forget to enter my first GIVEAWAY!!

Linking up to the parties in my tab above as well as:
UndertheTableandDreaming
You have read this article with the title . You can bookmark this page URL https://loriescorner.blogspot.com/2011/05/kitchen-jars.html. Thanks!

100 Followers=Giveaway!

Six weeks ago I opened up the doors of Love Sweet Love to the world. This was a place I could share the fun, new, and sometimes crazy creations I whittled away the hours of naptimes, bedtimes, and endless rainy days with. My family blog was starting to get a little too craftilious so I stole another little corner of the online universe so that my family blog could be left alone and I could showcase a little of me without feeling guilty. I am SO excited (and flattered and nervous and so stinkin' happy!!!) that there are so many others out there that want to follow along with me on my crafting journey-with little tidbits of my family thrown in here and there; afterall I can't do anything I love without them inevitably being a part of it-so I want to CELEBRATE! (big surprise! ha ha)

I want to CELEBRATE YOU for supporting me and for following along! So for all of you 100 followers (holy cow! EEK!) this giveaway is for YOU!

For my first ever giveaway here on Love Sweet Love, I have teamed up with the crazy talented, crazy beautiful, crazy inspirational Cheryl Nelson from CherylJuneGirl
.


She is a scrapbooker extraordinaire-as in one of the 10 finalist in Creating Keepsakes Scrapbooker of the Year-2007, a card making icon, a published designer in numerous scrapbooking magazines, a member (past and present) of several different scrapbook design teams, oh and most importantly...she's my mom. I know. Do I have a lot to live up to or what? She will be giving away, to ONE of you lucky winners, TEN of her hand-designed cards. Here's a very small sampling of her incredible work!


You HAVE to go visit her blog to see the amazing thing's she's capable of! Her Holiday cards especially are To. Die. For. Her cards blow me away and I'm pretty lucky to be able to be the recipient of many of them! So here's how YOU can be the lucky one this time!

**Since this giveaway is to celebrate my 100 followers you get one entry for being a follower! (If you're not already, join the ranks! If you are already (thanks!) tell me in the comments)
**you can receive an additional entry if you follow CherylJuneGirl (tell me if you do so in the comments)
**and one more entry if you tell me something you're celebrating this week in the comments!

So that's a total of 3 entries you can have! This giveaway will be open till next Sunday (5/29) at midnight. The winner-who will receive 10 cards (which cards will be a surprise picked out especially for you by Cheryl!!!) will be announced the following Monday morning. Go Go Go! (and good luck!)

{Giveaway Closed}
You have read this article with the title . You can bookmark this page URL https://loriescorner.blogspot.com/2011/05/100-followersgiveaway.html. Thanks!

Bean Balls

If you loved the Bean wreath I showed you last week you are going to double LOVE (x10) this idea! The thought of doing a whole wreath might be a tad overwhelming if you've never wasted your time patiently sat for hours hot gluing 945,000 bajillion beans (don't quote me on the number it could be more) to a piece of styrofoam.

But this? THIS you can do! Easy shmeesy. And the possibilities will shock you. Seriously...read on my friend.


First find some beans-mine are old from food storage and apparently Gus Gus (our furry, uninvited, can-not-trap-to save-our-lives, definitely smarter than a 5th grader, mouse) found my beans and had his way with them.


Gross. I almost didn't even do this project because I couldn't get the gag out of my throat.


Ewww. Let's get started. This project is CHEAP. You can buy decorative balls at the store anywhere from $10-15 (at least) and this will cost you less than half that!

Price breakdown: I bought a pack of 6 styrofoam balls from Michaels for $2.99 (using a 40% off coupon) making each ball .50. If you don't already have beans you can pick some up at a grocery store for about .78-1.58 a bag depending on the type of bean you use. You'll probably use a little less than 1/4 of a bag per ball. To do all 6 balls it will cost you about $4.50(or less)!

First you'll want to spray paint your styrofoam with a light coat, the same color of the bean your using. No matter how close you put the beans some white will show though. It doesn't look terrible this way so if you don't want to buy spray paint (about $3 a can) it'll still turn out ok. I'm just OCD a little picky.


I like to start in the middle of my ball and work down. Put a small strip of hot glue across...


and start laying down your beans. One by one by one.


Until you reach back to the bean you started with making a full circle.


Start the next row by placing the bean in the middle gap of the 2 beans on top of it, like so:


I burned my fingers a few times and I'm pretty sure I cursed in 3 different languages, so heads up...watch your fingers. See how I got your back?


Half way done!


Once you've completed that half flip it over and start gluing the bottom half.


(and of course it helps to have a handsome helper)


Almost done!


WaLaa! And can we all notice that I used every bean I had poured on the plate at the beginning minus one. YOU are lucky to be my friend because that makes me pretty awesome.


Now get ready to have your mind blown pretty ladies. Endless possibilities await you in the form of a can. Spray paint will change your life. I had done black, red and green colored beans for my kitchen, but I wanted some brown ones for my living room. After searching for a dark brown bean and coming up empty-handed I opted to do an all white bean...


and cover it with this rich chocolate brown color (not the actual name of the paint). Um love.


Are you understanding what this means? How awesome would some gorgeous turquoise balls be for a fun pop of color in your living room/bedroom, or silver and red for Christmas, or HELLO red, white and blue for 4th of July, or Hot pink for a little girls room?!?! I can barely breathe I'm so excited!

And the fun doesn't stop there! There are million and one ways you could display these! Like in a cool bowl...


Or how bout a glass pitcher?! (ps this totally blew my husbands mind...he could not wrap his brain around putting a decoration in something we drink out of. pshh.)


Or maybe stacked up in a tall vase (pronounced v-A-se not vaaaa-se because I'm not classy like that).


Fun right?!?! NOT overwhelming right?!?! Go! Make some! I really think you'll love it and if you do take the plunge PLEASE let me know because I would be tickled pink to have you copy me so I could show you off!

So my dears, I leave you with this piece of wisdom...keep calm and glue on. Next up for you...PASTA!


Have a SWEETLY LOVELY day today! Thank you thank you for stopping by, and don't forget to stop by and check out my first GIVEAWAY!

Linking up to the parties in my tab above as well as:
UndertheTableandDreaming
You have read this article with the title . You can bookmark this page URL https://loriescorner.blogspot.com/2011/05/bean-balls.html. Thanks!

This is the Week...

This is the week - the week I move out of the place I've called "home" - the week I move into my own, beautiful, new place - the week I step gracefully and gratefully from one life into another. 

I never thought such a time would come. I thought I'd be married "forever." But, life isn't always fair; it doesn't always go as planned.

Along this sometimes rocky journey I've learned a lot. I've learned:
  • Who my real friends are;
  • Whom I can trust;
  • My family is my greatest treasure; 
  • I can live on my own and not make a complete mess of things;
  • I can write as many drafts of a story as it takes to get it to where it needs to be;
  • My boyfriend is my love and my rock;
  • My children are amazing beyond my wildest dreams; 
  • I am my own best friend;
  • It's okay to ask for help.
For these lessons, I'm deeply grateful. To those who helped me climb out of the darkness and back into the light, I'm forever in your debt. 

This is the week - the week I take back control - the week I step forward into the rest of my life.  

Each of us is like a diamond, glaring in the light
Yet, blindfolds of our own design keep us in the night
Each of us is like a diamond, tainted, rare, and true
Striving to express our inner souls, our inner truths

Life takes turns we'd not imagined, choices strange are made

A shell game full of love and traitors, painful, aching shame
Our paths, they crisscross on and on, an ancient dance unnamed
One is here and one is out there, random as the rain

Diamonds II (Random as the Rain) by Debra Lynn Lazar, 9.15.2010
You have read this article lessons learned with the title . You can bookmark this page URL https://loriescorner.blogspot.com/2011/05/this-is-week.html. Thanks!

Kidney Bean Wreath

Pick a night this week, or next, but of course the sooner the better because you will wonder how you lived your whole life without this hanging in your house; where you can sprawl out on the living room floor, watch 5 or 6 chick flicks in a row-or actions, you know whatever you're into is cool-and become best friends with your glue gun while creating this:


I actually made this wreath before I started blogging so unfortunately I don't have a step-by-step process for you with pictures, but you'll need these supplies:


I already had the spray paint, glue gun, glue sticks and bag of kidney beans (expired food storage :) ) so the only thing I had to purchase was the circle wreath (bought from JoAnns with 40% off coupon so it was $2.40) and the ribbon to hang it (Walmart for $1).

1. First you'll want to spray paint your wreath red so that the white from the styrofoam won't show through the spaces in between the kidney beans.

*A spray-painting tip
: whenever you spray paint styrofoam (which I'm sure is all the time :) ) just do a light coat. I learned this lesson the hard way and spray painted a styrofoam ball one time with too heavy of a coat and it melts/shrinks/disintegrates-what have you, the styrofoam. My husband went into this way long explanation of chemical reactions and blah blah blah, but I won't bore you with that(even if I could remember it), just...don't do it. The purpose of painting it red first is just so you have a base color-not to actually create a red styrofoam wreath.

2. Next, you begin gluing the beans onto the wreath. I did mine just one row at a time. This is the best close-up picture I have where you can kind of see how the lines are created. Just don't put too much hot glue down at a time so that it dries before you can put on your beans.


3. Go all the way around and around and around the outside, front and inside of the wreath, but you don't have to do the back because no one will see that!


4. Make some kind of way to hang it up using ribbon!


5. Hang that baby on your wall!


6. See how much Sweet Love people give you on your fabulous new decoration! That YOU made! All by yourself! :)

Thanks so much for coming to visit me today! It means the world to me that you're here! Have a wonderful day wherever YOU are!

Linking up to the parties in my tab above as well as:
UndertheTableandDreaming
You have read this article with the title . You can bookmark this page URL https://loriescorner.blogspot.com/2011/05/kidney-bean-wreath.html. Thanks!