
Just SIX more days till the day of Lu-huuuuv! Are you excited?! Valentines day has never been a big celebratory, give big presents, go all out kind of holiday for the hubs and I...we're more of the quiet dinner and a movie kinda people...so having kids to celebrate with has been SO SO SO fun! The excitement and energy they bring makes it worth all the preparation and time I put into different projects for the holiday (like the Love Shacks-they have been absolutely GIDDY over them, so happy!!).
My little girl (3 yr. old) has especially loved valentines day since there has been so much PINK everywhere! ha ha! And I have to say, since I have one month a year where the Mr.can't doesn't complain about pink decorations, I release all of my pent-up girly, pink loving, mushy-gushy, love emotions from the previous 11 months and go to town! My heart felt wreath goes perfectly inside, but I wanted a wreath for my door (surprise, surprise ;) ) that was a little more......gender neutral shall we say?!
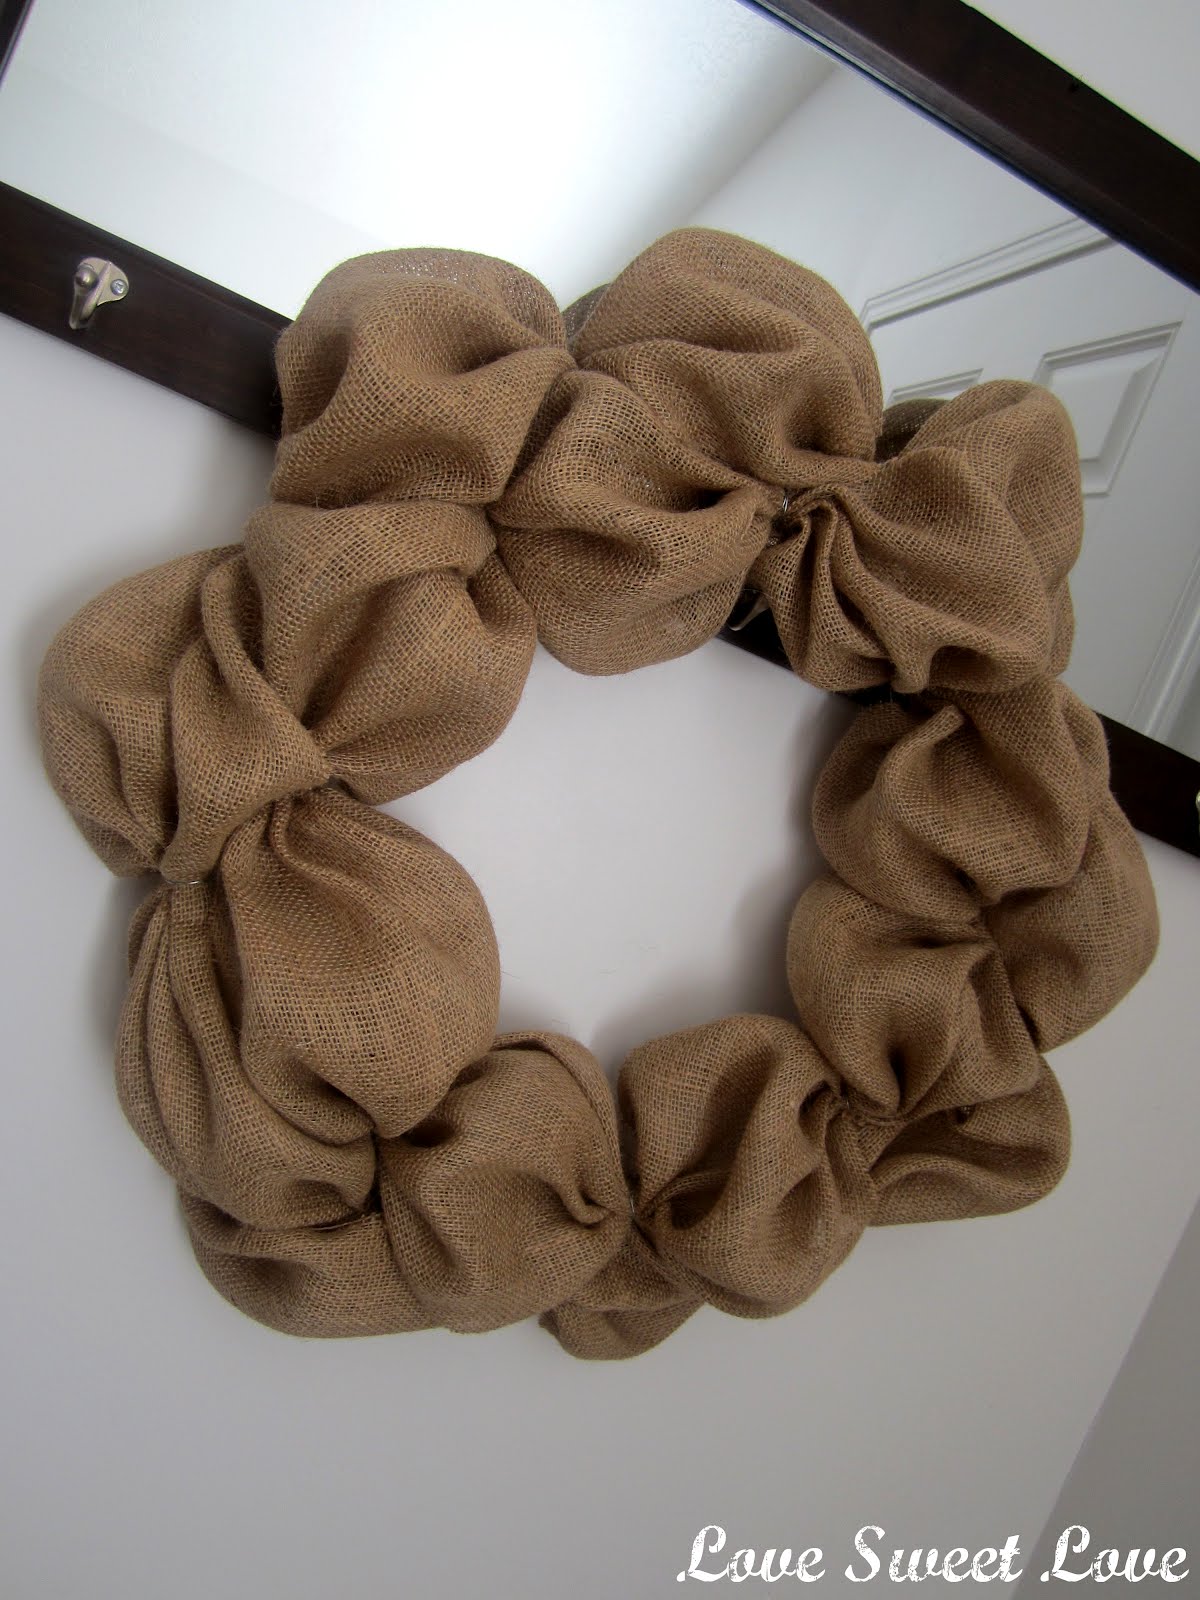
There are after-all 2 boys living in this house too, so I was looking for something that was feminine enough to make my pitter-patter heart happy, and masculine enough to keep the hubs from taking it down. :) So when I found this burlap bubble wreath on pinterest here I knew it was perfect!!
The Valentines Burlap Bubble Wreath...
My little girl (3 yr. old) has especially loved valentines day since there has been so much PINK everywhere! ha ha! And I have to say, since I have one month a year where the Mr.
There are after-all 2 boys living in this house too, so I was looking for something that was feminine enough to make my pitter-patter heart happy, and masculine enough to keep the hubs from taking it down. :) So when I found this burlap bubble wreath on pinterest here I knew it was perfect!!
The Valentines Burlap Bubble Wreath...

The wreath was created by Amanda who blogs at My Heart's Desire and she has a fantastic tutorial, so if you're interested in making you're own you'll definitely want to check it out! And the best thing is, she has one tutorial here just for the burlap bubble wreath and a separate tutorial here for the heart burlap wreath. I, obviously :), used and followed both and I love how it turned out!
I won't re-create a total step by step since I followed Amanda's instructions exactly, but just to show you how simple it is...
I started with 3 things
1. Burlap (1 yard tan, 1/2 yard red)
2. Wire wreath forms (1 18" circle, 1 heart-both from Hobby Lobby)
3. Floral wire
*between using coupons and what I had already on-hand, this wreath came out to under $10-perfect!

To make the round wreath, you're basically just gathering, bubbling and securing all around your circle form on the inner and outer rings.

And I will tell you this, it would have been much easier(not that it was really hard, but my fingers just started to hurt after awhile) if I would have used a thinner gauge wire. I was using 20 gauge b/c I already had that on-hand, but I would recommend 24 or 26 because it will tie around your burlap and wire lots easier and give you a better hold!

This is what the back of the wreath looked like when I had finished-just so you can kind of see how I tied the wire around.

Also, with such thick wire I had some problems with it showing in some places. With thinner wire I think you'd probably be able to hide it better.
For the heart I did basically the same thing, but just made one row of "bubbles" rather than one for both the inner and outer rings.


Using a recommendation from Amanda, I took some extra scraps of red burlap and stuffed them into the bubbles on this wreath to give it a little bit fuller of a look.

Then I safety pinned the heart to the round wreath so that I can use the burlap wreath on it's own for something else in the future!

And that was it!

I love that this doesn't have to be just a valentines wreath- stretchin' those pennies as best I can! ha ha!


So are you doing anything fun with your Mr. Love or your littles for valentines day?? I would LoVe to hear about it!
Thanks for popping in, talk to ya soon!
You have read this article with the title Burlap Bubble Wreath. You can bookmark this page URL http://loriescorner.blogspot.com/2012/02/burlap-bubble-wreath.html. Thanks!


