
Just in case you missed it, I wanted to share with you the full tutorial of my window make-over I did for the girls over at J&M's Eye Candy last month since it's one of my favorite projects! Eeeek!

I literally squealed when I saw this beauty peeking out at me behind the lawnmower inside my neighbor's garage and could hardly keep my voice at one pitch level when I asked her what she planned to do with it (you know, if I sounded too excited she might decide to keep it it :) ha ha!).

She laughed and said, "Oh my gosh I found that forever ago at my FIL's farm and thought I might do something with it, but I'm not going to. Do you want it?" "Seriously?!" I half shriek, "I have been looking EV-ER-Ywhere for one!" (true story, I had.) It was cobwebbed, dusty, chipped and perfectly perfect in every way.

After a quick, but gentle, wipedown with just a damp cloth I spray painted her (all my projects are female) with a light coat of white spray paint.

I then sanded it down softly because I still wanted the wood to show through just a bit and wanted to keep the chipped look it already had. I tossed around the idea of going back over it with a stain to darken it up but I decided I just wanted it to look worn and well-loved, not necessarily antique.

L.O.V.E. the rust popping out here and there. I just think it adds the perfect amount of charm.

There really are SO SO SO many things you can do with an old window (and some ideas are noted at the end of this post), but for the space I was putting it in, for now:), I decided to go with some simple, single robe hooks from Home Depot in a bronze finish on the bottom of the window.


After the hubby hammered some picture frame hooks into the back of the window to hang it with...

...I decided it needed a little more love, so I used this Kidney Bean Wreath I made awhile back (tutorial can be found here) and hung it in the center of the window to give it some color and texture.

First I hammered a little nail into the top center of the window and then tied a bow (of which I have no idea how to explain-tying bows is not my thing) around the nail head for the wreath to hang.

See...it took me so long to tie the bow, poor Mr. Sweet Love fell asleep holding the window up for me :) ha ha!

And my first (cause I love this so much I'm pretty sure there will be a second and third :) ) up-cycled window was complete!

I love all the different lines and curves and colors and textures the window, hooks, beans and bow create together.


I really did love how it turned out but as it hung on the wall above the fireplace it just felt a little...sad. Like maybe it needed some words of encouragement...

Ha ha! Okay maybe not really, but I {heart} this quote and have been itching to find a place to include it in my home!

I thought the simpleness of the words would go perfect under this window and in my living room

Please tell me it works because I'm not sure I can live without it :)!

So for now this is how it sits. I think I change things so much because there are so many great ways to decorate/display things and I want to try them ALL! ha ha!

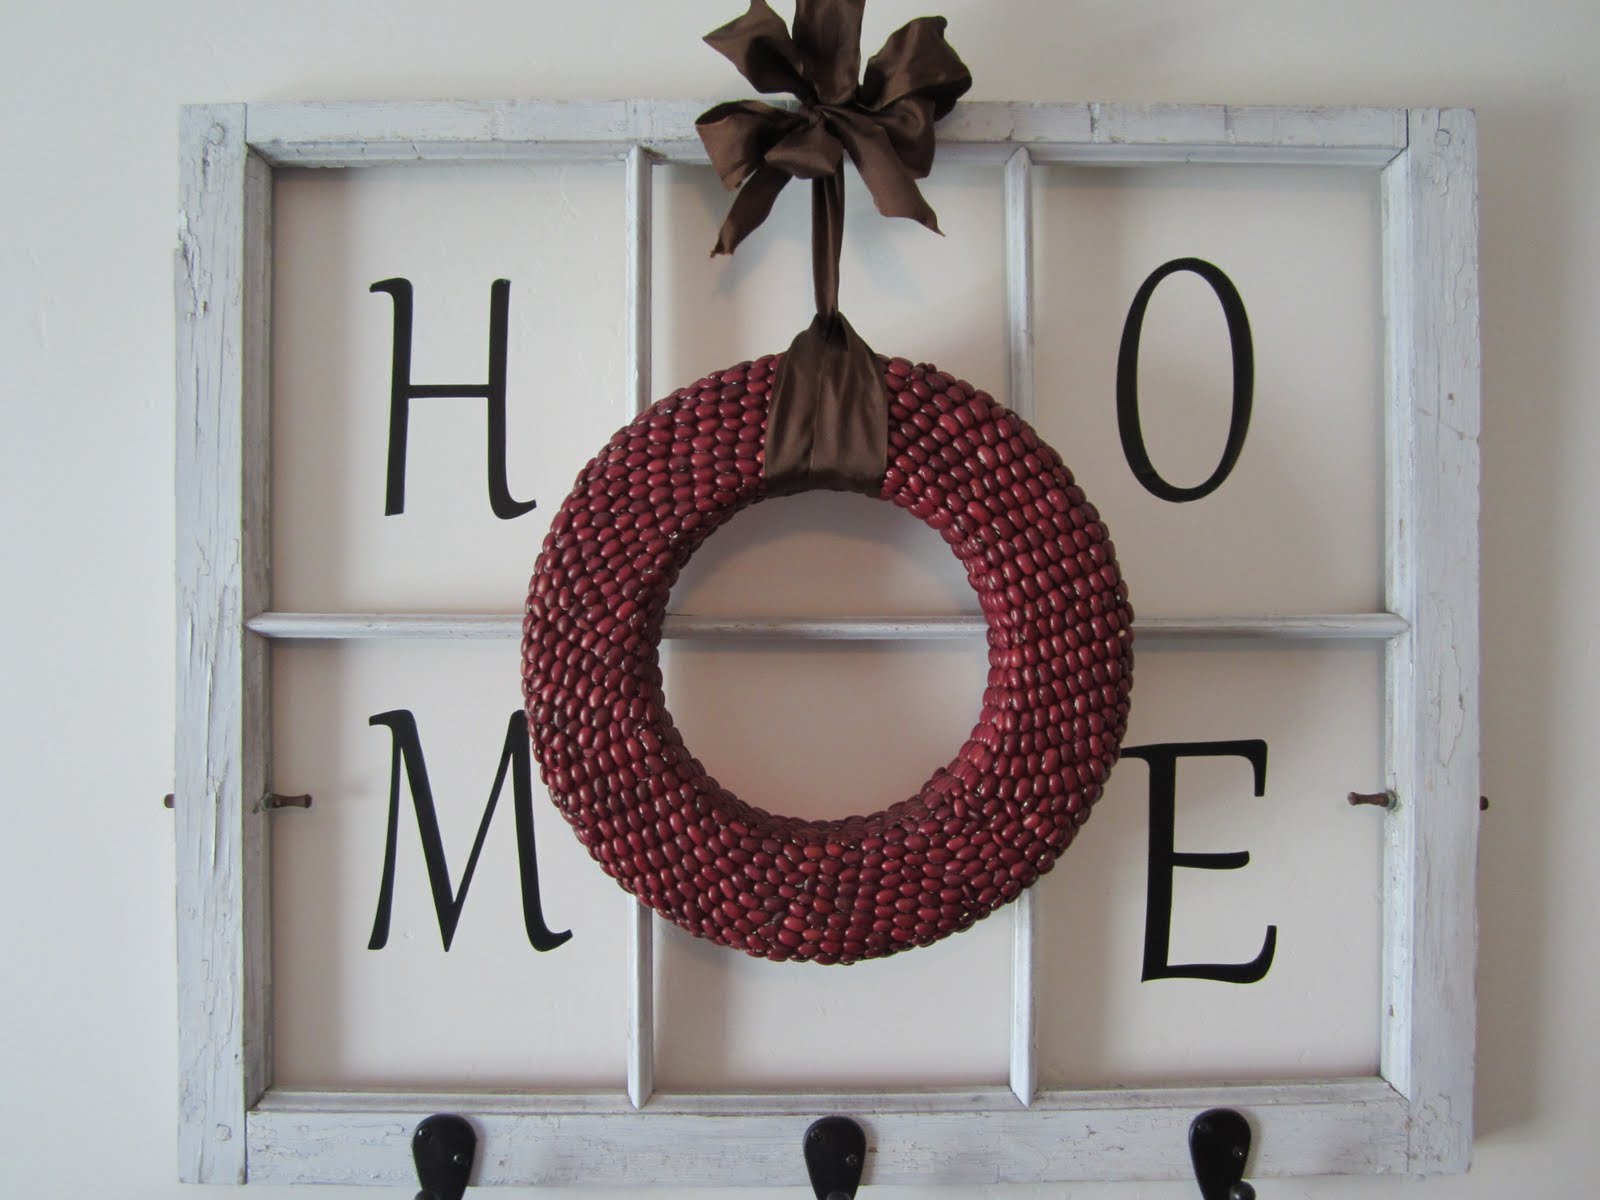
For example this is another idea I had...spelling out the word HOME. Or you could go super simple and just use a monogram for your last name in one of the open spaces.
These are a few more FUN ideas for old windows I found on Pinterest just for YOU. You're welcome. (okay I lied, this was totally for me) You can find these and more fun crafty ideas on my Pinterest Page!
Use scrapbook paper to create beautiful artwork.

My window no longer had the glass, but if you had one that did this would be SO pretty!

Use vinyl on the glass to share a message.

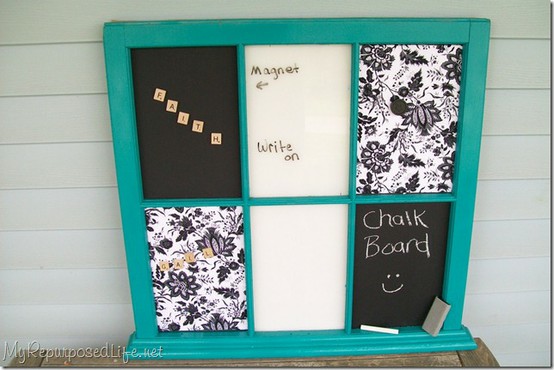
Create a message board.
Blown-up picture+window with lots of frames=COOLNESS!!!

Subway art on the glass pane of the window. So cute!

Thank you Thank you Thank you for popping over to see what's going on here today! I {heart} you mucho! Have a sweetly lovely day my lovelies!


You have read this article Photobucket
with the title Up-Cycled Window. You can bookmark this page URL http://loriescorner.blogspot.com/2011/09/up-cycled-window.html. Thanks!