

I started by making this Q-tip jar I found on one of my favorite blogs Less Cake More Frosting.

The top of my jar is a little different than hers, so in case you wanted to know how I made my flower, here ya go!
I started by cutting 4 circles, the same size, out of felt-about 3 inches, as well as a small square (not pictured, but you'll see it below).

Next you fold each circle in half once and then in half again. (I like to lay a strip of hot glue down the crease of the fold when you fold your circle in half the second time so that it holds its shape a little better)Then you hot glue your folded circle-which now looks like a triangle-onto your piece of square felt by placing a drop of glue on the tip of the "triangle" and placing the point in the center of the square felt, like so...

...doing the same for each of the 4 pieces so it looks like this when all four triangle shaped pieces are glued down.

Then fluff them up a bit so they have some volume!

Next I cut 2 "wavy" circles out of felt just a smidgen smaller than the 4 circles were (how do you like that for a measurement?!) so that when they're glued down on top of the 4 triangles they look a little more flower like. These circles you only fold in half once and glue down on top of your folded triangles.

And then again...FLUFF! "It's so fluffy I could die!"-name that movie and get 10 cool points!
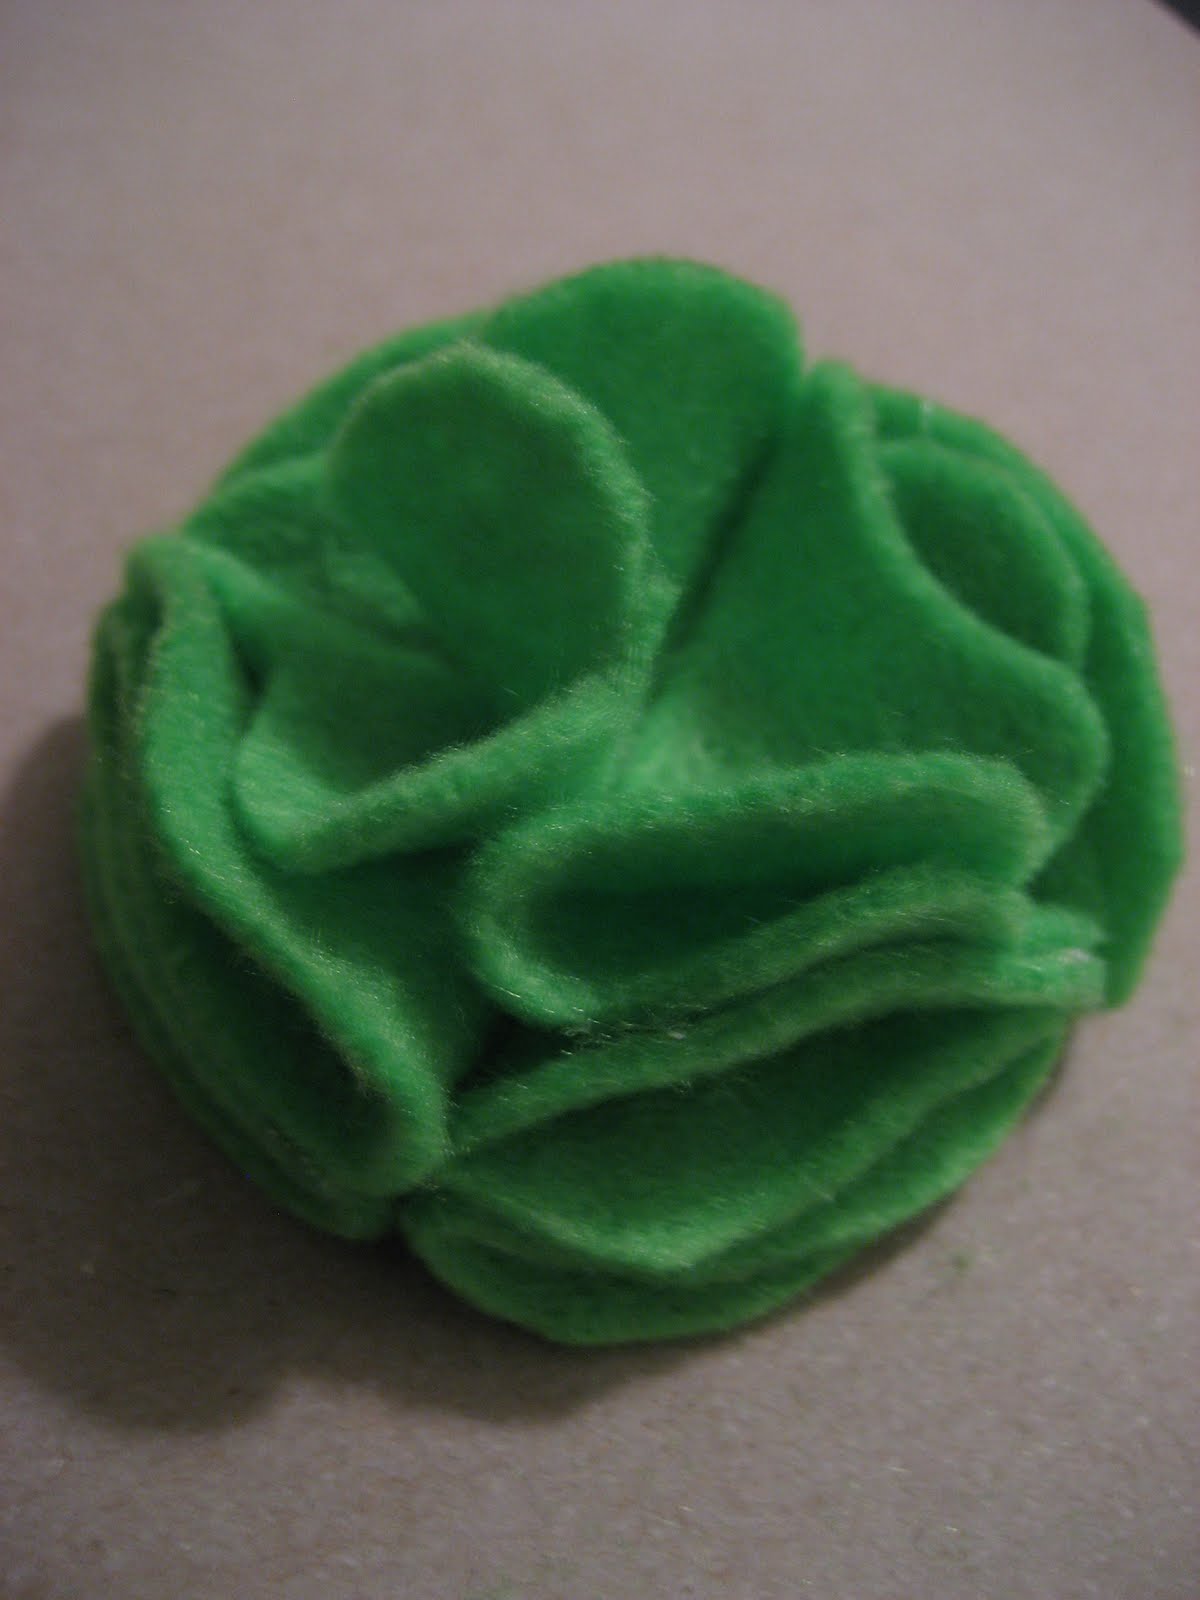
I chose to put a little hot pink pom pom on top, but you could do anything-button, bow, jewel, etc.

Then I hot glued my pretty flower to the top of my jar (from Hobby Lobby $1 on sale). I found some fun yellow colored Qtips for $1 at our local grocery store and printed out the label on black vinyl using my cricut and it was done!

* I first made the flower for The Princess's hair several months ago and they're just attached to an alligator clip. They look super cute in her hair, so if you need an easy, cheap hair accessory try it out!
The next part of the gift was a wipes band, which was linked in the above Qtips jar tutorial on the same blog.

I was nervous to try it since it involved sewing (small freak out) but thought it seemed like a good beginner sewing project. I was totally right and I love love love how it turned out! (Her tutorial is perfect so hop over there if you want to make one too, just click on the word wipes band above!)
I found the fabric at Hobby Lobby-on sale for $4.90/yd and I bought 1/2 a yd. So it was a little less than $2.5 and I have enough left that I could easily make another one...or two. :)

I'm sure everyone knows how to make these rolled flowers because I have seen them everywhere, but I couldn't for the life of me figure out how on my own! I finally found a good tutorial on Studio 5 (local UT show), so if you're interested in making your own rolled flowers check it out!

The flower on the bottom is called a fabric yo-yo which you'll see on the wipes case cover below.

So with these two done..

...the last thing I wanted to add to the gift was the wipes case cover I found on Make it and Love it.

I drool with envy over her creativity! Seriously check her out-AND she just had a precious, precious baby girl that almost makes me think pregnancy might be worth suffering through again. Almost.
Her tutorial is also really detailed so I'm just showing you a few shots from mine cause I think it's helpful to see as many pictures as you can when trying to re-create something. Well, that's true for me anyways because I copy tutorials word. for. word. I'm not cool enough to be able to come up with adjustments on my own yet. YET, being the key word in that sentence cause a girls gotta have hope! :) ha ha.

The fabric yo yo is really easy to make. Try it, you'll see.

I'm so proud of my little sewing project! Ha ha, oh the simple little joys life gives me! :)

Picked up a cute little basket from the dollar store (cheaper than a gift bag and much more practical for a new mom right?!) to package it all in and it was a wrap!

You have read this article with the title Baby Girl Gift. You can bookmark this page URL http://loriescorner.blogspot.com/2011/04/baby-girl-gift.html. Thanks!