
I have a lot of height above the cupboards in the kitchen so I really wanted the decor to accentuate the space and take advantage of what I had. The first thing I did in the kitchen were the bean balls. Since they stacked upwards in the vase, I needed something to complement that tall, slender look, so when I found a set of unfinished wood candlesticks at the thrift store for .50 each I grabbed up all of them and knew exactly what I wanted to do! (painted the candlesticks with Rustoleum's black laquer spray paint)

Glue jars to the top and fill them with...FOOD (non-perishable)!

The glass jars were purchased from Hobby Lobby ($2 a piece on sale) and the lids were given a coat of the same spray paint as the candlesticks (originally silver).
You're kinda limited in what food items you can use since they need to not rot, grow mold, or smell funny. Oops...guess real garlic wasn't a genius idea. After about a week (no JOKE!) of wondering why in the world our kitchen smelled like onion breath we looked up and saw our science fair project was successful (garlic DOES continue to grow in glass jars. sweet.) This was taken before the growth.

Welp, no biggie! I found a strand of fake garlic at the dollar store and still have about 10 left (any takers???). I cut them off the garland and hoped they wouldn't look too fakey! I actually really like the look next to the other jars!

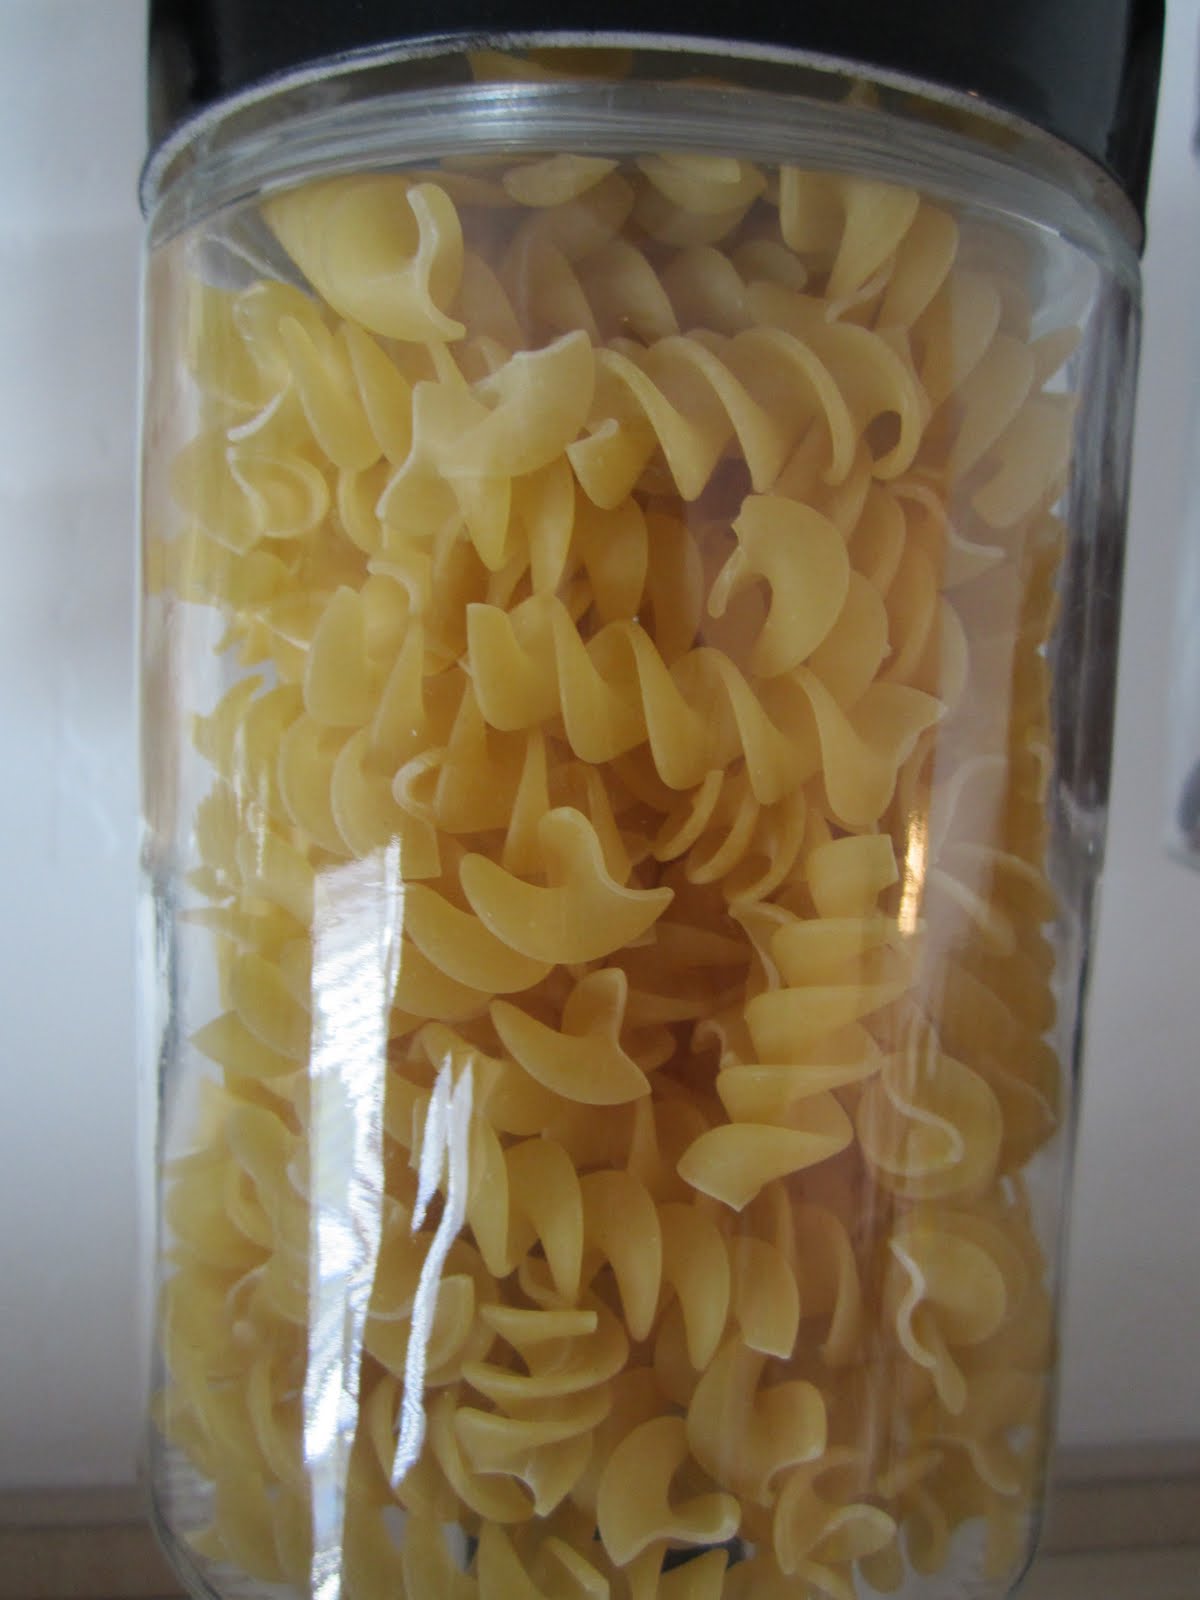
Pasta just makes me drool. Had to have it; plain and simple.
My mom gave me the idea for dried peppers and it works perfectly since my kitchen has a red/black/ pops of green thing going on. Man I {heart} that woman!

And there are my pretty little maids all in a row! (I also think these could look really cute with some vinyl lettering on the front of the jars as well!)

The decor on the right side of the kitchen from the view of me standing on the counter, leaning half of my back on the fridge and balancing my elbow on the cabinet. I know. You're welcome.

You can find the how-to on my decorative bean balls HERE.
The red star I found at a thrift store for $1.50
This silver plate was a wedding gift that I added the word and graphic to using black vinyl cut from my cricut and then placed it on an easel I already had.

This wreath was $1 at the thrift store and I picked up some berry stems from Hobby Lobby for .50 each (used 2) and wrapped them around the wreath for a little touch of Sweet Love.

This is the view when standing on the floor.

Only problem is now I actually have to walk out to the garage to pick a new box of cereal. Although I have noticed a slight decrease in our consumption...maybe this is a good thing!
Can I just tell you how much I LOVE you being here with me on my little ol' blog?! It makes my day to see you popping over to say hello! Have a LOVELY day! Don't forget to enter my first GIVEAWAY!!
Linking up to the parties in my tab above as well as:


You have read this article with the title Kitchen Jars. You can bookmark this page URL http://loriescorner.blogspot.com/2011/05/kitchen-jars.html. Thanks!


